
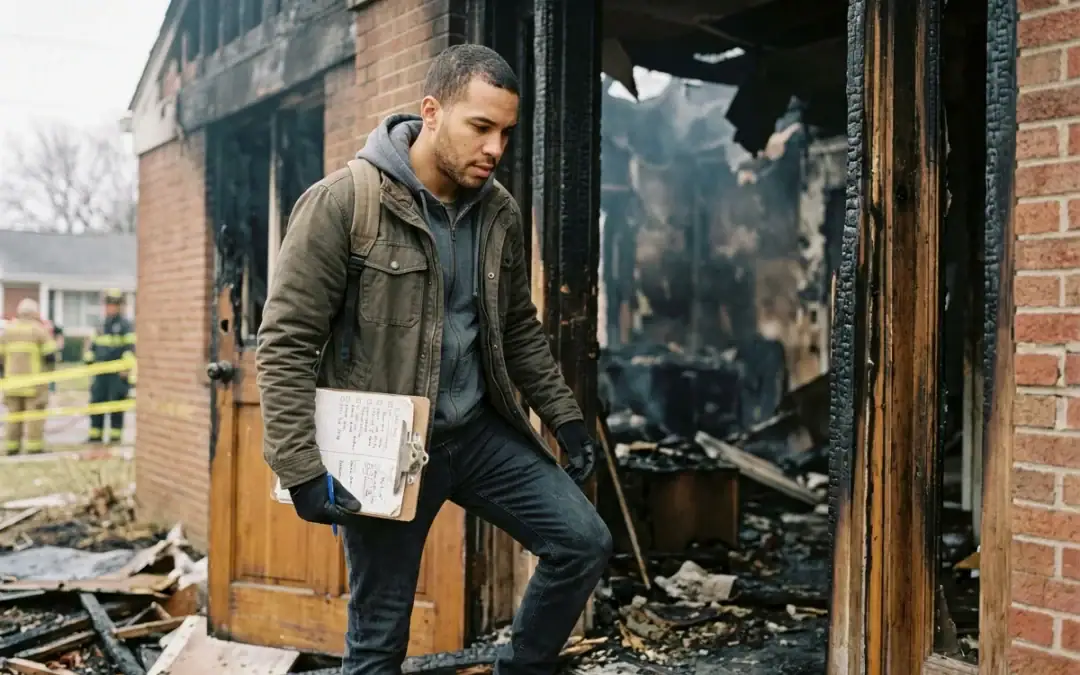
The fire may be out, but the recovery process is just beginning.
After a house fire, it’s normal to feel overwhelmed. Between concerns about your family’s safety, your home’s condition, insurance paperwork, and salvaging personal belongings, it can be difficult to know where to begin. Trying to tackle everything at once often leads to unnecessary stress and overlooked details.
Having a clear plan can make the recovery process far more manageable. This checklist walks you through the most important steps after a fire, helping you protect your property, avoid common mistakes, and move toward restoring your home.
Step 1: Wait Until Your Home Is Declared Safe
Never enter your home until the fire department or local authorities have confirmed it’s safe to do so.
Even if the fire appears to have been contained, there may still be hidden dangers such as:
- Structural instability
- Electrical hazards
- Falling debris
- Hot spots
- Poor indoor air quality
Your safety should always come before recovering personal belongings for your house fire recovery plan
Step 2: Contact Your Insurance Company
Notify your insurance provider as soon as possible.
They’ll explain how to begin the claims process, provide a claim number, and let you know what documentation they’ll need.
When speaking with your insurer, ask about:
- Temporary housing if your home isn’t livable
- Emergency expenses
- The inspection process
- Required documentation
- Next steps for repairs
Starting the claim early often helps keep the restoration process moving.
Step 3: Document the Damage
Before moving or cleaning anything, document the condition of your property.
Take photos and videos of:
- Every affected room
- Burned structural areas
- Smoke damage
- Water damage from firefighting efforts
- Furniture
- Electronics
- Personal belongings
Good documentation helps create a clear record of the damage for both restoration planning and insurance purposes.
Step 4: Protect Your Home From Further Damage
Once the property is safe to access, preventing additional damage should become the next priority.
Depending on the condition of the home, temporary measures may include:
- Fire board-up for damaged windows or doors
- Roof tarping if the roof has been compromised
- Securing exposed openings
- Removing safety hazards where appropriate
These steps help protect the home from weather, vandalism, and additional deterioration while restoration is being planned.
Step 5: Don’t Forget About Water Damage
Many homeowners focus on the fire itself and overlook the water left behind by firefighting efforts.
Unfortunately, that water can continue soaking into drywall, flooring, insulation, and framing long after the fire has been extinguished.
Prompt water damage restoration helps remove excess moisture, dry the structure, and reduce the risk of secondary damage such as mold growth.
Step 6: Avoid Cleaning Smoke Damage Yourself
It may be tempting to start wiping soot from walls or washing smoke-damaged belongings immediately.
However, using the wrong cleaning products or techniques can permanently smear soot, spread contamination, or damage delicate surfaces.
Professional smoke damage cleaning uses specialized methods designed to remove soot safely while helping eliminate lingering smoke odors throughout the home.
Step 7: Separate Salvageable Items From Unsalvageable Ones
Not everything exposed to fire needs to be discarded.
Some belongings can often be cleaned and restored, while others may be too severely damaged.
As you go through your home:
- Separate damaged items from unaffected belongings.
- Avoid throwing away items before documenting them.
- Follow your insurance company’s guidance regarding disposal.
- Keep an inventory of damaged possessions.
This process helps organize both restoration efforts and insurance documentation.
Step 8: Prepare for Repairs
Once cleanup has been completed and the property has been stabilized, repairs can begin.
Depending on the extent of the damage, this may include:
- Drywall replacement
- Flooring repairs
- Interior painting
- Cabinet replacement
- Structural repairs
- Roof replacement if the fire damaged roofing materials
- Additional construction services for more extensive rebuilding
Every fire is different, so the scope of repairs will vary from one property to another.
Step 9: Take Care of Yourself, Too
Recovering from a house fire isn’t just about repairing your home.
The experience can be physically and emotionally exhausting, especially in the days immediately following the event.
Take the recovery process one step at a time, ask questions when you need clarification, and lean on family, friends, or community resources for support while your home is being restored.
Common Fire Recovery Mistakes to Avoid
During recovery, homeowners often make avoidable mistakes that can create additional challenges.
Try to avoid:
- Entering the home before it’s declared safe.
- Cleaning soot with household cleaners.
- Throwing away damaged belongings before documenting them.
- Waiting too long to address water damage.
- Beginning repairs before the property has been fully assessed.
- Forgetting to photograph damage before cleanup begins.
Avoiding these mistakes can save time, reduce costs, and help prevent unnecessary setbacks.
Final Thoughts
Recovering from a house fire takes time, but having a clear plan can make the process much less overwhelming. Focusing on safety, documenting the damage, protecting your property, and addressing both fire and water damage early can help you move forward with greater confidence and avoid additional complications.
Professional fire damage restoration brings together emergency stabilization, smoke damage cleaning, structural drying, repairs, and reconstruction to help restore your home after a fire. If your property has been affected by fire or smoke damage, contact us today to schedule a professional assessment and take the first step toward restoring your home.